HTML TODO Tutorial (Part 1)
This is a set of tutorials that I’m building to teach my son how to code (hope you like them Daniel).
In this tutorial we’re going through the steps of creating a simple TODO app, but also of setting up our environment to help us make that app.
Let’s start by setting up our IDE. We’re going to use Visual Studio Code (VS Code).
- Download it and install it.
- Open it
- Press Ctrl+Shift+P (Command+Shift+P on a Mac) to open the command palette
- Type shell in the command palette.
- Choose the “Install ‘code’ command in PATH”.
- Open a terminal or command shell window.
- Run the following commands in the terminal:
cd Documents
mkdir todo
cd todo
code .
At this point we should be inside VS Code again.
- Click on the extension icon on the left menu (5th icon from the top)
- Type live server in the Search Extensions is Marketplace text field.
- Install the Live Server extension.
- Search and install the Auto Close Tag and Auto Rename Tag by Jun Han while you’re there.
- Go back to the previous window by clicking on the Explorer icon on the left menu (1st icon from the top).
- Create the index.html file by right clicking the window > New File or by clicking the New File button.
- Start typing html on the file window and you’ll see a couple of options. Choose the html:5 one.
- Change the browser’s tab title by changing line 7 to:
<title>TODOS</title>
- Change the page’s title by changing line 10 to:
<h1>TODOS</h1>
- Save the file (Ctrl+S or Command+S) and right click on the file window (where the HTML Code is) and choose the Open with Live Server option.
- You should have the index.html displaying on your browser now. Set them up so you can see both VS Code and the browser at the same time. This way you’ll be able to see your code changes live as soon as you save your files.
- Make your body section look like this:
<body>
    <div>
        <h1>TODOS</h1>
        <ul>
            <li>Feed the dog</li>
            <li>Walk the dog</li>
            <li>Mow the lawn</li>
            <li>Feed the chickens</li>
            <li>Read a book</li>
            <li>Do some exercise</li>
        </ul>
        <input type="text">
        <button>Add TODO</button>
    </div>
</body>
We now have are base TODO App. That’s great! Right? The thing is it looks dull. So let’s make it look a little more exciting and we’ll do that by adding some CSS rules to the page. We’ll do this by inlining CSS rules into the page. As a matter of fact you can inline CSS right into the HTML Element like this:
<body style="background-color:#DDDDDD">
But we should avoid this as much as possible, because this will be really hard to mantain later on. So we’re inlining in the head section as this is the recommended way when your css is going to be short, but as soon as the css rules start to grow we need to make a separate file and make a reference to it from the html.
- Let’s start by making the head section look like this:
<head>
    <meta charset="UTF-8">
    <meta name="viewport" content="width=device-width, initial-scale=1.0">
    <meta http-equiv="X-UA-Compatible" content="ie=edge">
    <title>TODOS</title>
    <link href="https://fonts.googleapis.com/css?family=Open+Sans" rel="stylesheet">
    <style>
        body {
            background-color: #dddddd;
            color: #333333;
            font-family: 'Open Sans', sans-serif;
            font-size: 18px;
            letter-spacing: .03em;
        }

        div#main {
            max-width: 400px;
            margin: auto;
        }

        ul#todos {
            list-style-type: none;
            margin: 0 0 10px 2px;
            padding: 0;
        }

        ul#todos>li {
            padding: 7px 5px;
        }

        input {
            width: 100%;
            height: 50px;
            font-size: 1em;
            padding: 10px;
        }

        button {
            width: 100%;
            height: 50px;
            margin-top: 10px;
            font-size: 1em;
            background-color: #888888;
            color: #dddddd;
        }
    </style>
</head>
When you save and look at the reloaded page on the browser you’ll notice that it looks better, but something’s off, first off, you’ll notice that the text input field and the button are too wide. That’s because a couple of rules in the CSS are specific to an element with an ID (div#main and ul#todos). This is because when you’re styling an HTML Element you need to ask yourself if this style is going to be for all the elements of this type or just for certain elements or just for one element. For all elements you use the elements name, like I’m doing for body, input and button, for certain elements you use classes (which I don’t use on this example) and for an individual element you use ID’s (which is what we need). So on this step we need to add ID properties to both the div and the ul like so (in lines 2 and 4):
<body>
    <div id="main">
        <h1>TODOS</h1>
        <ul id="todos">
            <li>Feed the dog</li>
            <li>Walk the dog</li>
            <li>Mow the lawn</li>
            <li>Feed the chickens</li>
            <li>Read a book</li>
            <li>Do some exercise</li>
        </ul>
        <input type="text">
        <button>Add TODO</button>
    </div>
</body>
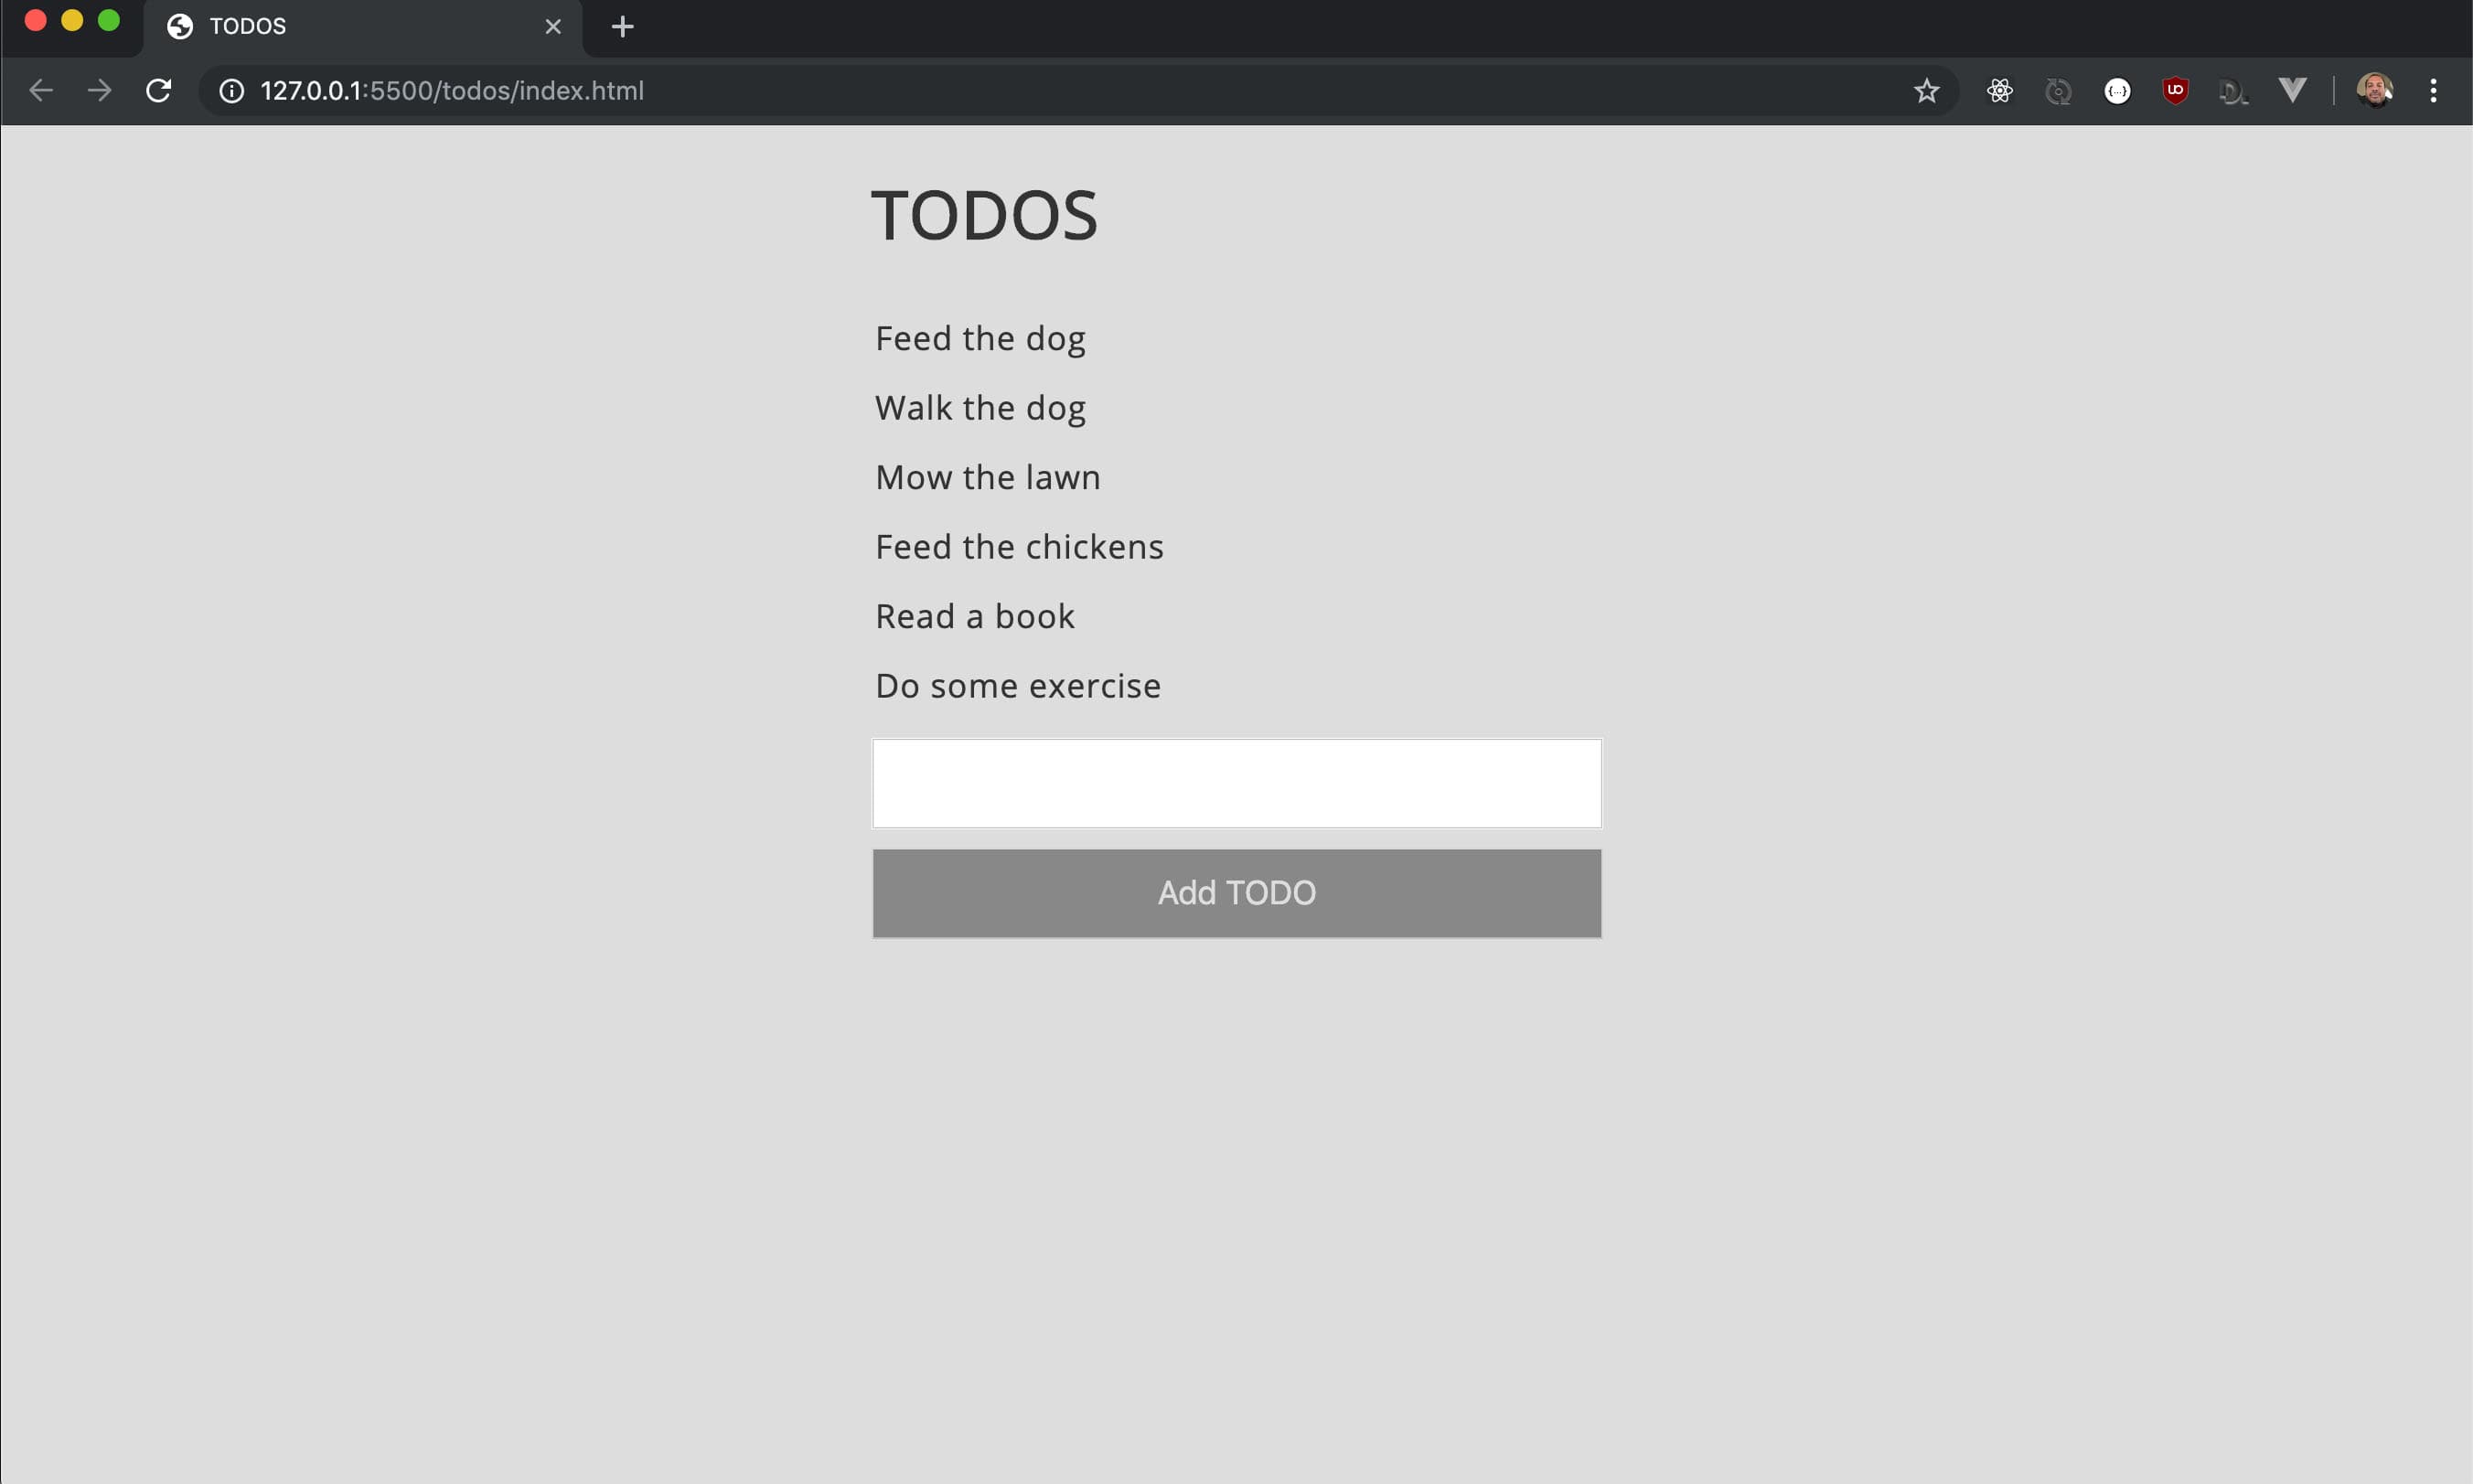
Now we should be seeing something like (please ignore that my url has an extra /todos in the URL, that’s because of my setup):

It looks better but it doesn’t do anything, so on part 2 we’ll work on that with Javascript.